The second method, I'm actually going to cover in detail is the "Sandblasting" method. I purchased an item at my local Harbor Freight, the "Eraser Kit", can be viewed at:
http://www.harborfreight.com/air-eraser-kit-99636.html
(If the link above doesn't work go to Harborfreight.com and enter in SKU 99636)
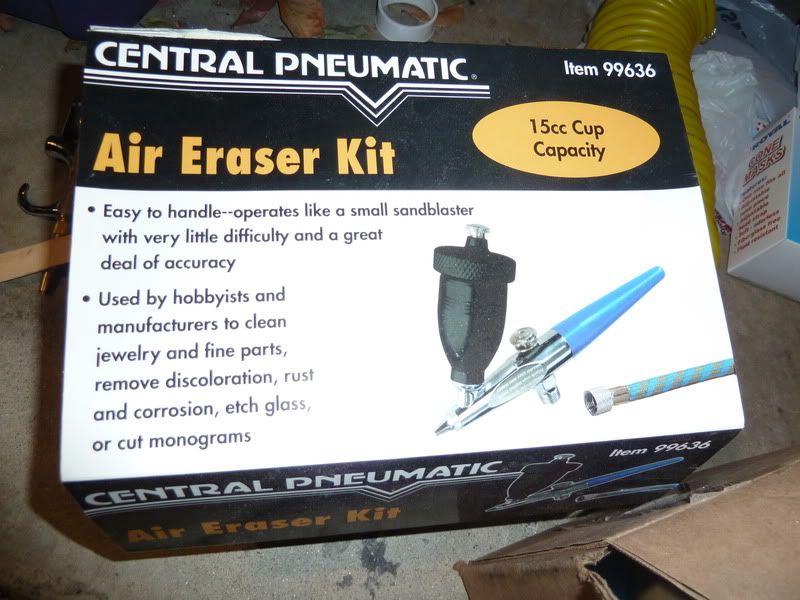
The kit comes with the gun and hose but you'll also need is the 220 grit Aluminum Oxide powder, some air compressor connectors, a Desiccant air dryer (it is important to keep the air free of moisture or your powder will clump) and an air compressor with a regulator (most air compressors push out 100psi but the gun can only handle 65psi max so it is important to regulate the air flow). Here are links to some of the other items that can be purchased at Harbor Freight:
http://www.harborfreight.com/inline-des ... 68215.html
(SKU 68215 Desiccant-removes the moisture from the air hose, keeping the media from clumping)
http://www.harborfreight.com/2-lbs-220- ... 66846.html
(SKU 66846 Abrasive-this is the sand blasting material)
http://www.harborfreight.com/5-piece-in ... 68193.html
(SKU 68193 Couplers-you might need a mix of these, this is just an example. I'll put up more photos of my set up later)
If you don't have an air compressor don't worry or be scared to buy one they have multiple purposes (filing up the car/van/suv tires, air tools, etc) and come in different sizes. I am using a 2 gallon one and it works. The only problem is that the it empties quicker and you have to wait for it to refill. With this project it probably refilled at least 4 times. With a larger air compressor you get more time and probably need less time waiting around for refill. I think a 5+gallon would be great for most projects.
So lets start on my project..
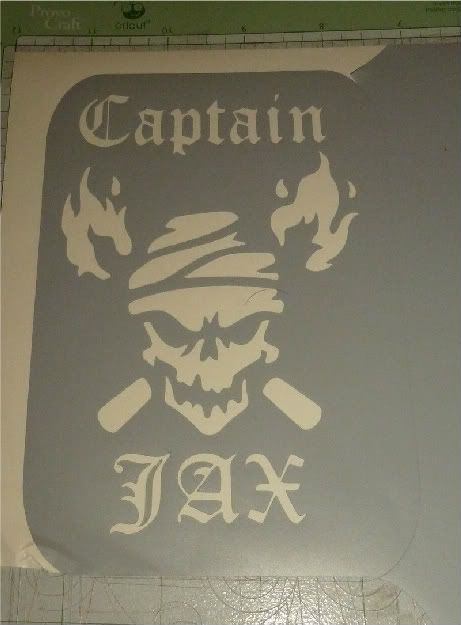
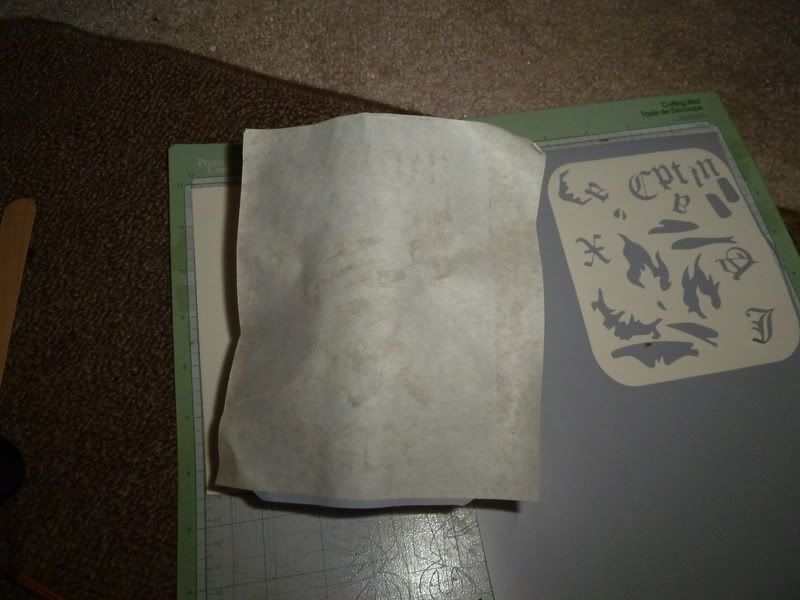
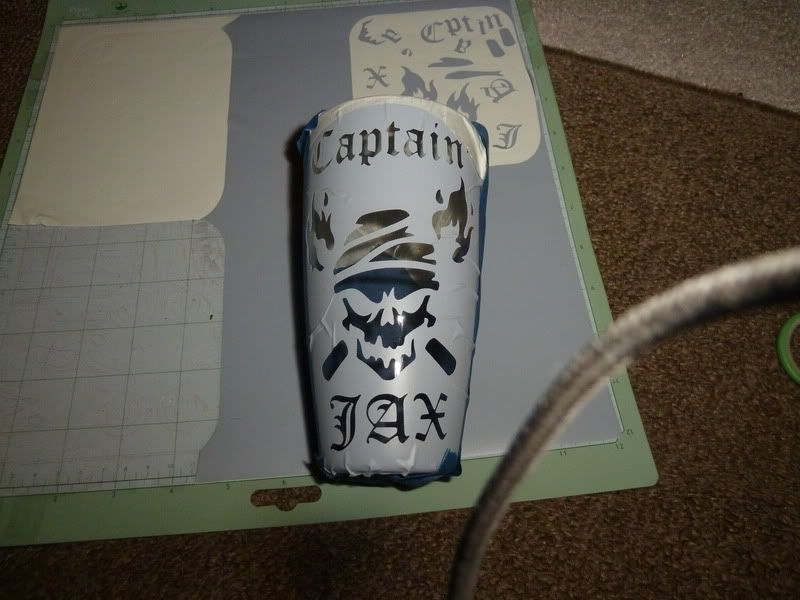
I wanted to create a new glass for myself in a pirate theme so I referred to the internet and used SCAL to make it. You need a Stencil that is basically the negative to a decal. In this case I used Oracal 631, same as the stuff you use for wall decals. Nice thing is it doesn't stick to hard to surfaces and when you wash it off it doesn't leave much residue.
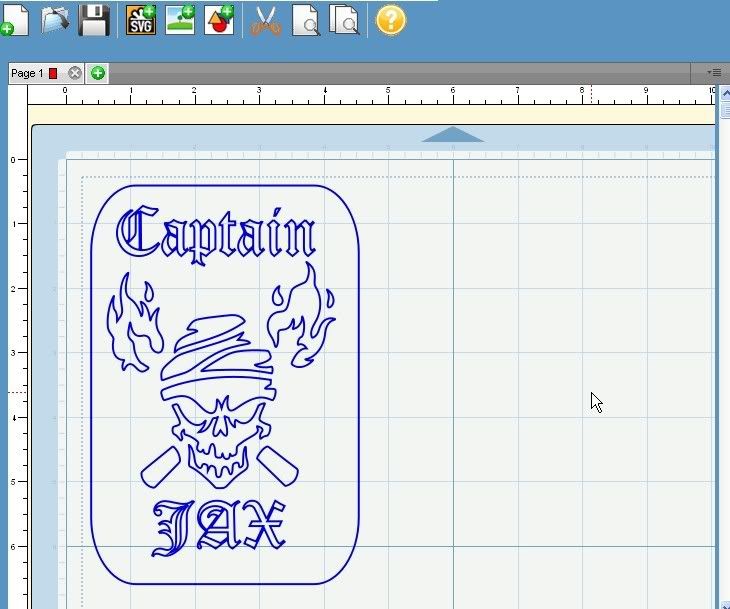
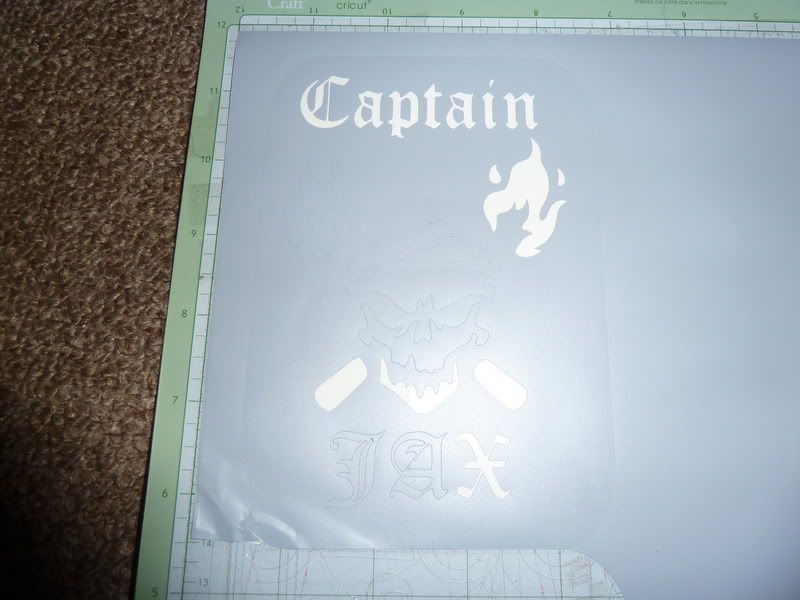
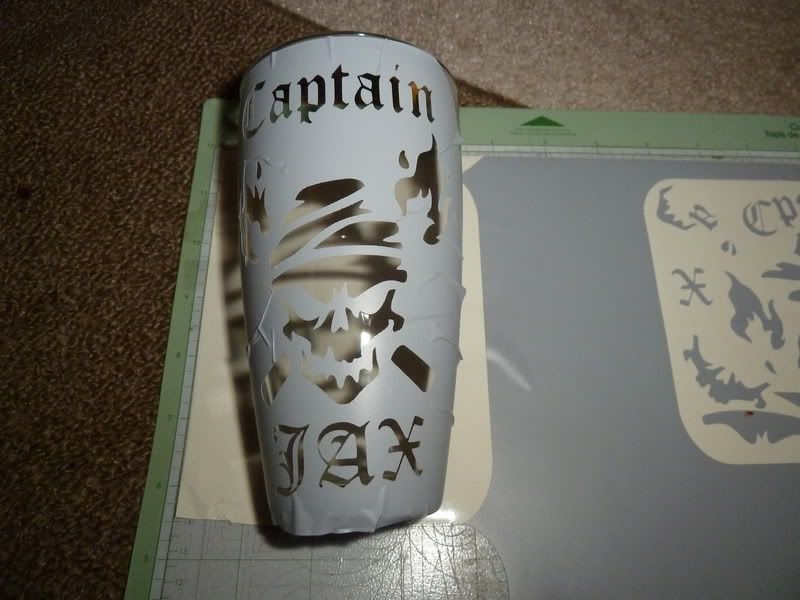
Now I need to cut it our and weed:
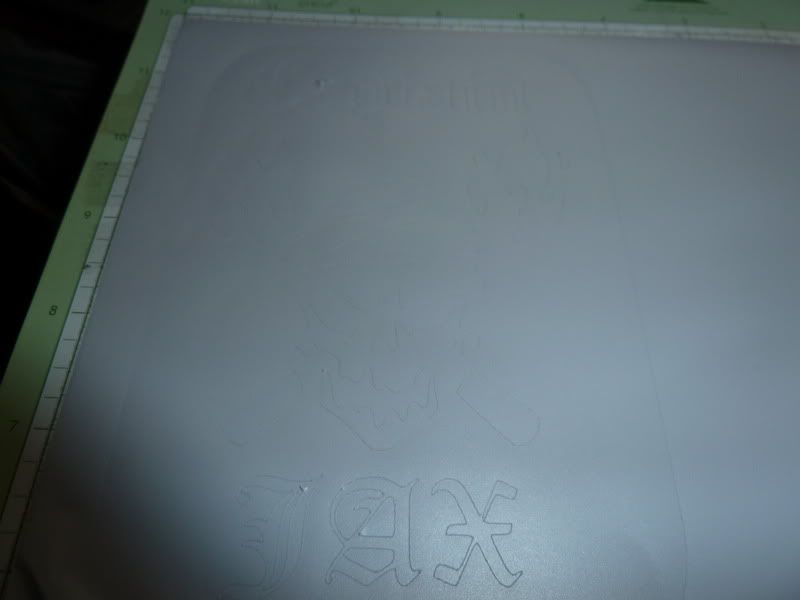
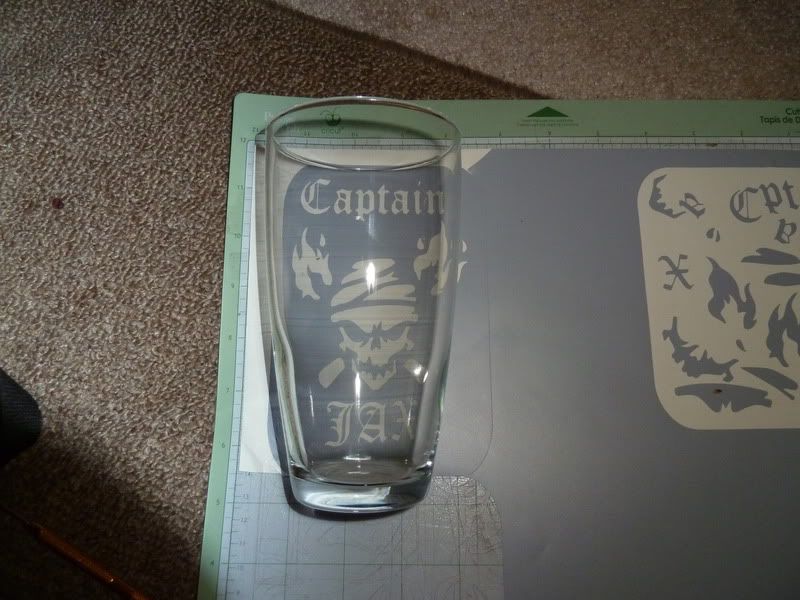
Now that I have my stencil I put the glass down to see what it would look like:
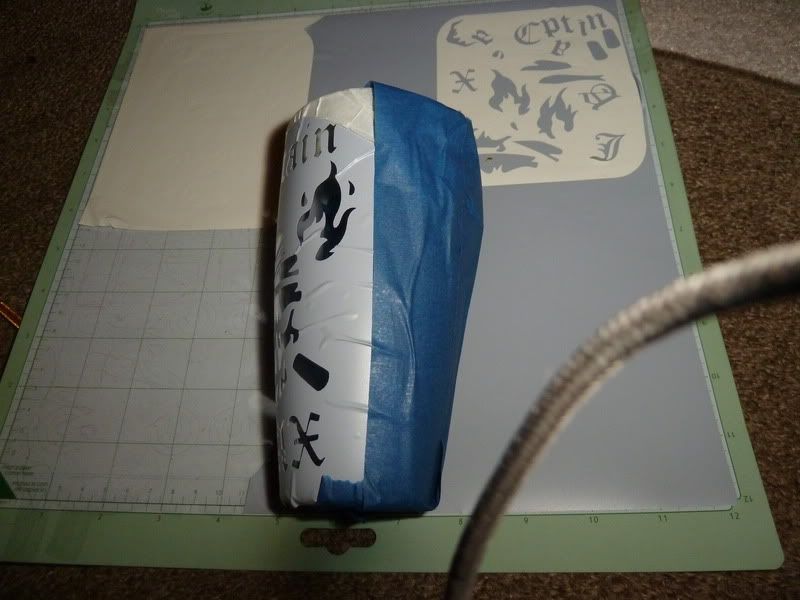
Next is to lay down the transfer tape and apply it to the glass.

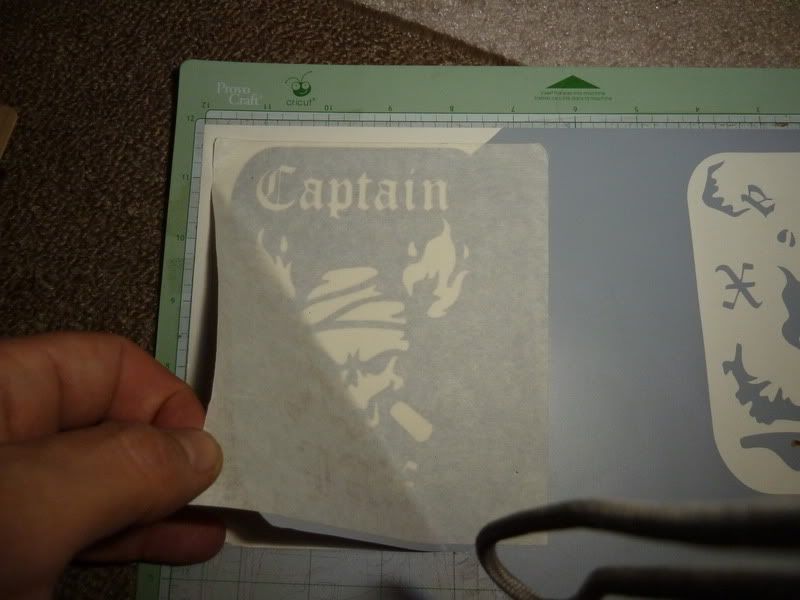
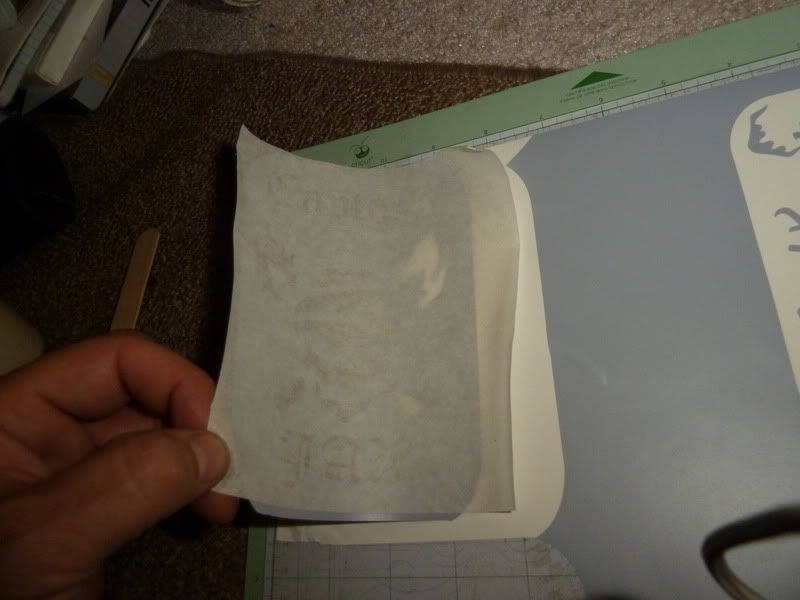
When you lay down the stencil onto the glass I start from the center and work the vinyl to the outer edges. One important note the only thing that is important is that the edges to the exposed glass sits perfect. Don't worry about the vinyl creasing or folding in the middle, that part is not going to be blasted. Also since a glass is round you need to realize its not going to go down flat. Work with you'll get the technique down.
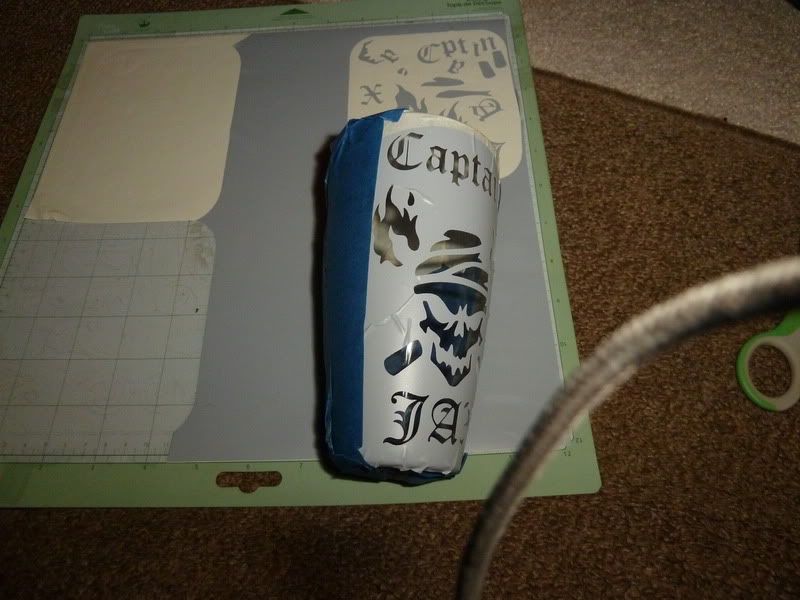
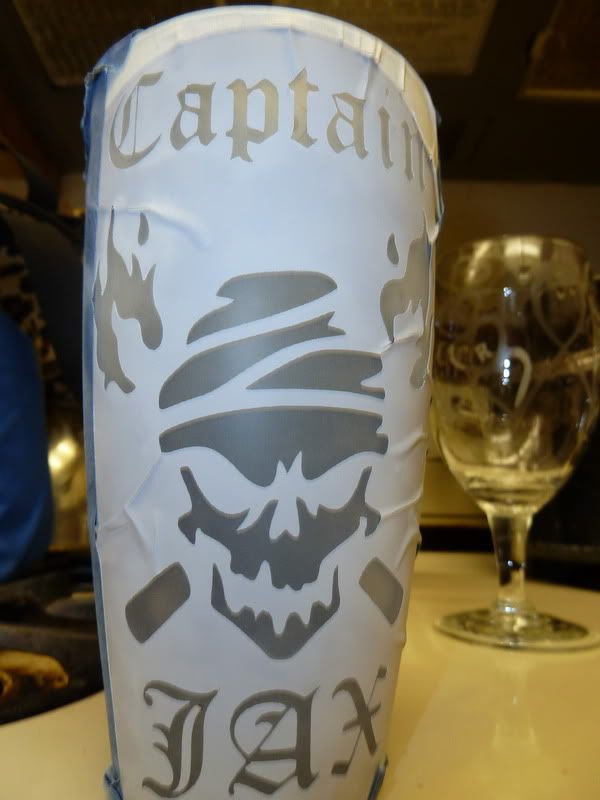
Now that the vinyl is applied to the glass I protect the rest of the glass with Painters tape. It is easily removed and doesn't leave residue. You can buy it at a hardware store but I purchased mine form my local Dollar Tree. One roll can do about 4 average size glasses. I did this just to keep the glass safe in case of over spray. The media itself will not harm the glass but I got used to this when doing the acid method because that will harm the glass if it gets onto it.
Now it's SANDBLASTING Time!!
I made myself a small booth using a carboard box from Costco, a drop cloth and some plastic clamps (both purchased at the Dollar tree)
Place your glass in the booth and you are ready to sandblast.
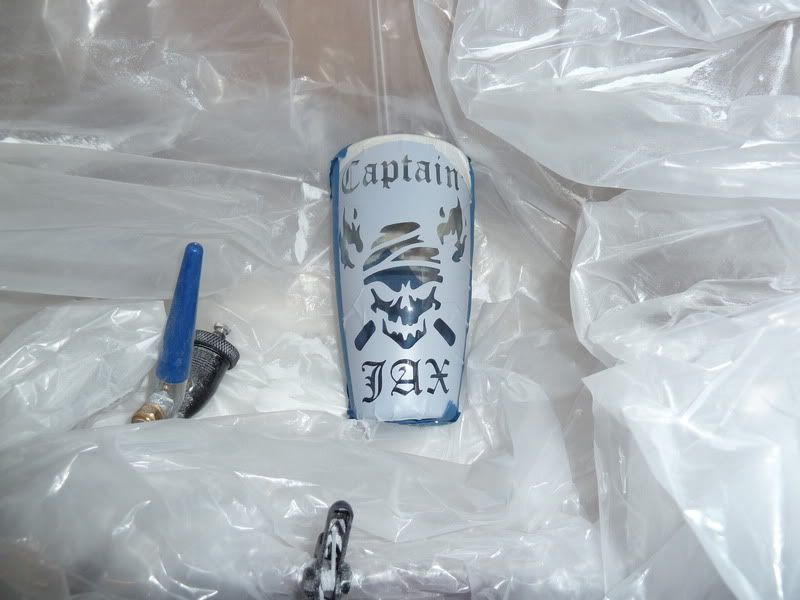
This is a messy process and throws dust everywhere so tips I can give are get a dust mask and some safety goggles or glasses. Also I did this outside but if you are doing it inside make sure you have ventilation going or the dust will kick up every where.
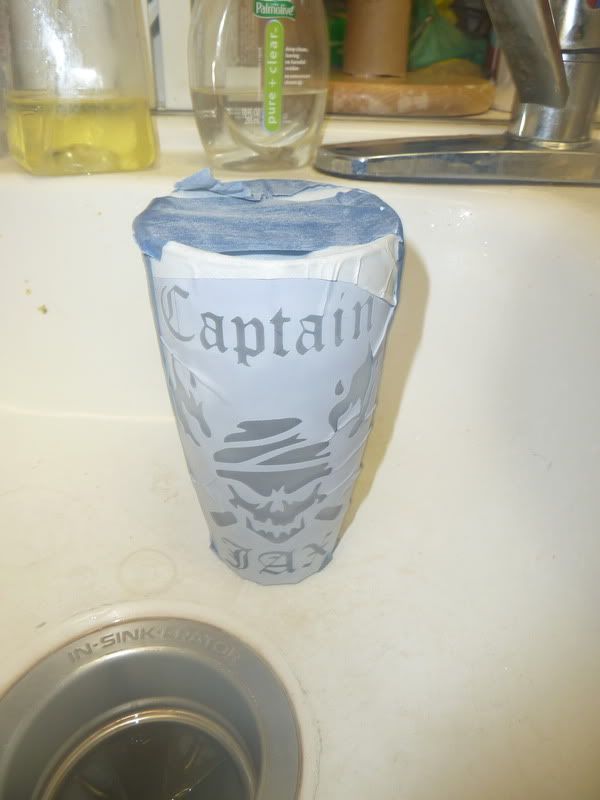
As you can see in the pictures the part sandblasted is not shiny, kind of dull or "etched".
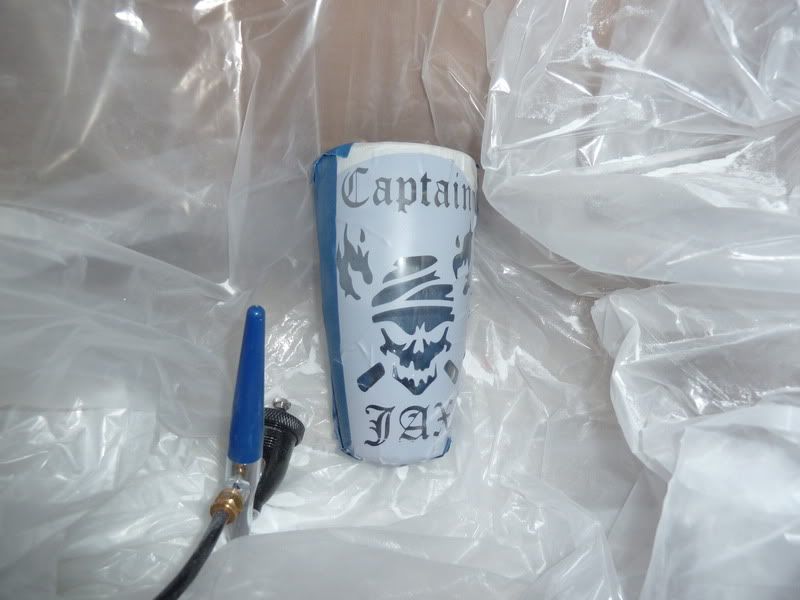
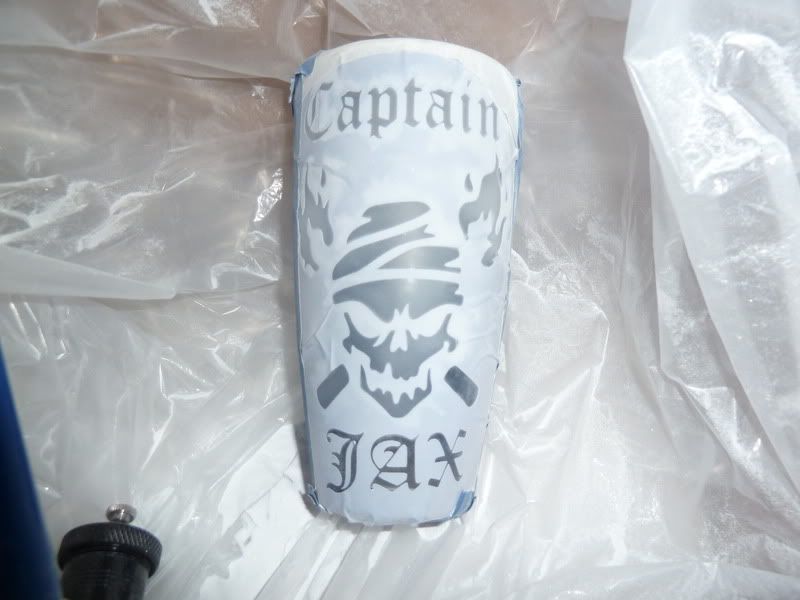

Before you put stuff ways inspect your glass for shiny areas. If there are any shine put it back in the booth and go over it again. You want the entire areas Dull.
Put the glass aside and now clean up the area. One thing I didn't mention is that I use the booth because when the gun is empty I reuse the media that falls in the booth. Just refill what is in the booth.
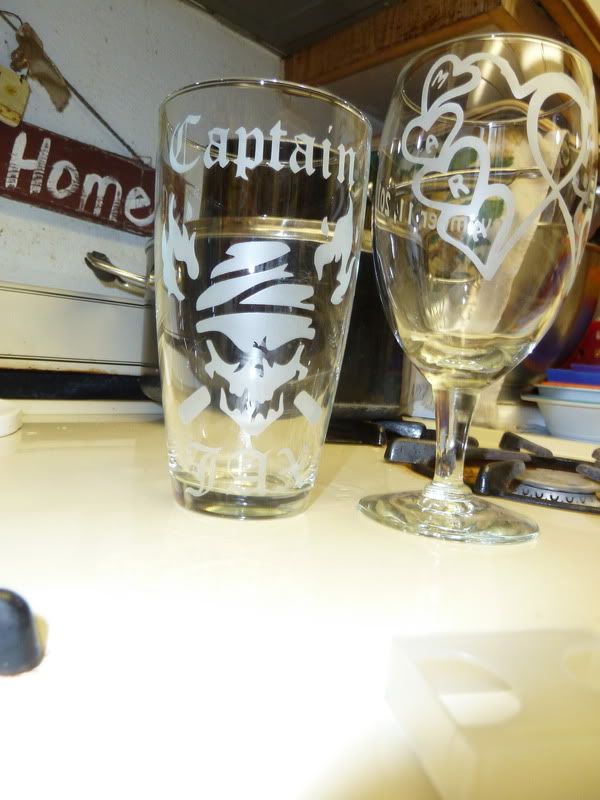
Now back to the kitchen to rinse and remove the stencil.
So here's my glass back in the kitchen.
Here is one tip I learned about glass and vinyl, hot water removes it cleanly. So use hot water to rinse and remove. Then let it dry. Do not use hot water then cold because the glass can crack or shatter. That would be bad especially since you got to this point.
Once rinsed and stencil is removed you have this nice etched glass.
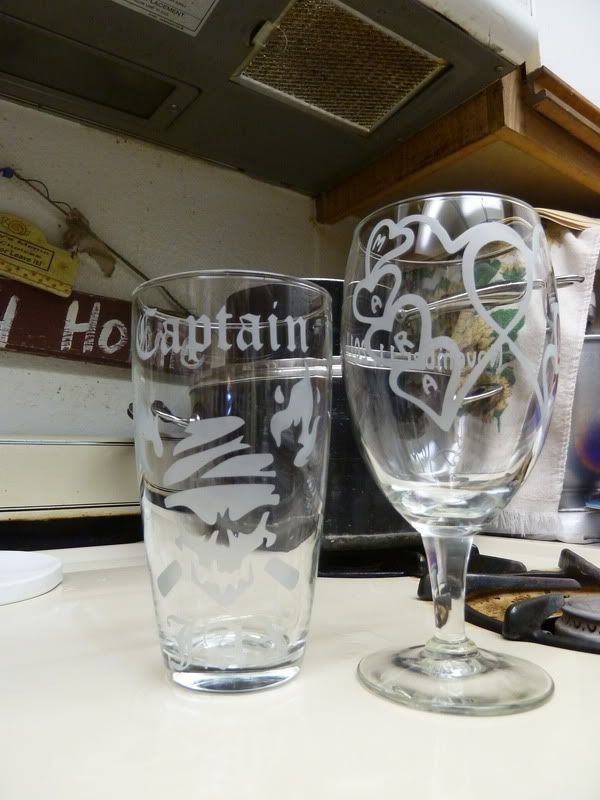
Another tip is if you are going to etch make sure you have a couple of items. Sometimes the mess is just not worth just doing 1 item at a time. Then again it's just dust so go at it!!
I know this is a long read but hopefully it helped anyone wanting to try it.